Step-by-Step Guide: Implementing Custom Domains in Your Django SaaS App


Are you looking for a seamless way to add custom domains to your Django-based SaaS application? Look no further! In this step-by-step guide, we'll walk you through the process of implementing custom domains using the powerful SaaS Custom Domain API. Whether you're a seasoned developer or just starting with Django, this guide is tailored to help you enhance your SaaS app's user experience and branding with ease.
Custom domains are an essential feature for any SaaS application, allowing customers to use their own domain names and promote a professional, branded presence. By following our easy-to-understand tutorial, you'll learn how to automate custom domain management and provide your customers with a personalized and secure environment. Let's dive in and elevate your Django SaaS app with custom domains!
This tutorial should take between 5 and 20 minutes to complete, depending on whether you choose to perform the optional Step 5.
Steps:
Create an API token (1 minute)
Create an upstream (1 minute)
Create a custom domain (1 minute)
Create a CNAME for the custom domain (1 minute)
Handle forwarded requests in the Django application (optional, 5-15 minutes)
Step 1: Create an API token
First and foremost, you need to obtain your API token from the account settings.

With the API token in hand, you can make API calls to the SaaS Custom Domains API.
Step 2: Create an upstream
An upstream refers to the server to which the reverse proxy forwards requests. In your case, this is the Django application server that should receive requests.
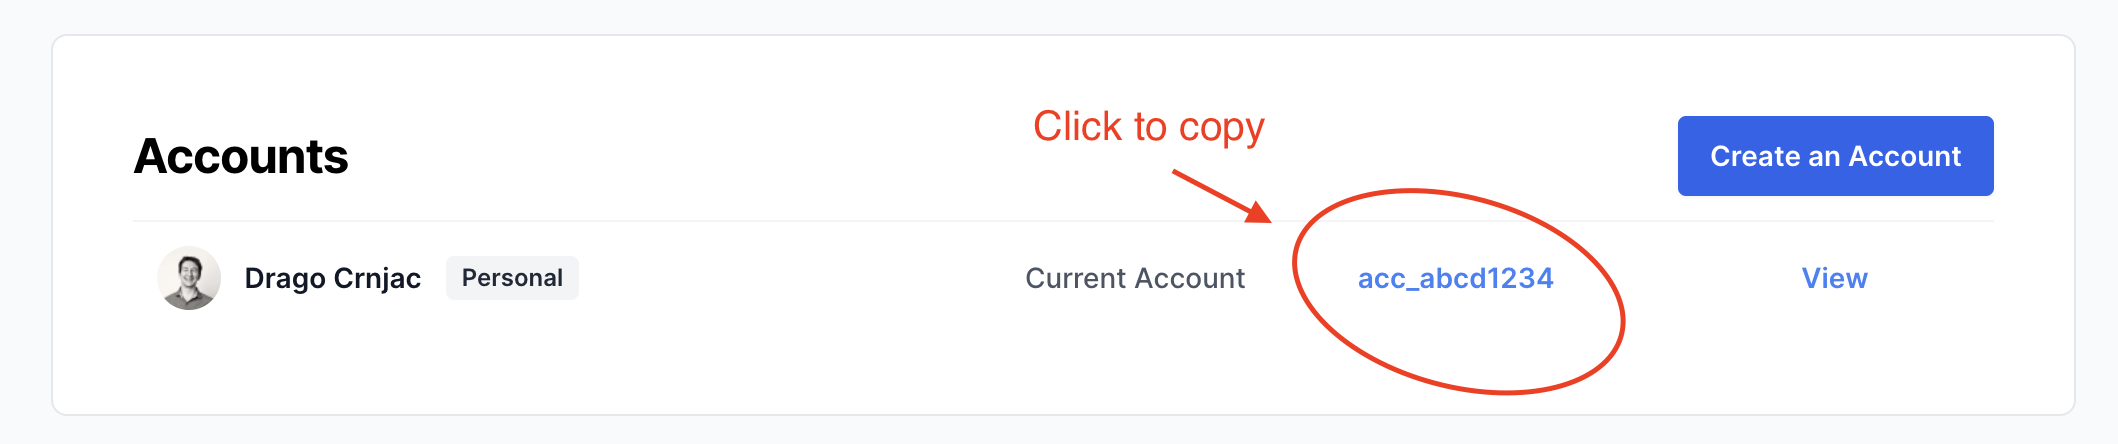
Start by obtaining your account UUID from the account settings.
Assuming your app is hosted at app.example.com, open the Django shell and create the upstream as follows:
import requests
import json

account_uuid = 'your_account_uuid'
token = 'your_api_token'

base_url = "https://app.saascustomdomains.com/api/v1"
url = f"{base_url}/accounts/{account_uuid}/upstreams"
headers = {
    'Authorization': f'Bearer {token}',
    'Content-Type': 'application/json'
}
data = {
    'host': 'app.example.com'
}

response = requests.post(url, headers=headers, data=json.dumps(data))
response_data = response.json()

print(response_data)
This should output something like:
{
    "uuid": "your_upstream_uuid",
    "host": "app.example.com",
    "port": 443,
    "tls": True,
    "bubble_io": False,
    "created_at": "2023-03-14T15:47:56.844+01:00",
    "updated_at": "2023-03-14T15:47:56.844+01:00",
    "account_uuid": "your_account_uuid"
}
Congratulations! You've successfully created your first upstream.
To learn more about upstreams and the various actions you can perform with them, check out our Upstreams API Documentation.
Step 3: Set up a custom domain
With the upstream created, it's time to configure a custom domain that will route requests to it. For this example, we'll assume a customer wants to use the custom domain app.mydomain.com.
import requests
import json

account_uuid = 'your_account_uuid'
upstream_uuid = 'your_upstream_uuid'
token = 'your_api_token'

custom_domain_host = 'app.mydomain.com'
base_url = "https://app.saascustomdomains.com/api/v1"
url = f"{base_url}/accounts/{account_uuid}/upstreams/{upstream_uuid}/custom_domains"
headers = {
    'Authorization': f'Bearer {token}',
    'Content-Type': 'application/json'
}
data = {
    'host': custom_domain_host
}

response = requests.post(url, headers=headers, data=json.dumps(data))
response_data = response.json()

print(response_data)
This should produce output similar to:
{
    "uuid": "your_domain_uuid",
    "host": "app.mydomain.com",
    "created_at": "2023-03-14T16:04:05.489+01:00",
    "updated_at": "2023-03-14T16:04:05.489+01:00",
    "last_dns_check_at": None,
    "status": "pending_check",
    "instructions_recipient": None,
    "instructions_email_sent_at": None,
    "upstream_uuid": "your_upstream_uuid"
}
Well done! You've established your first custom domain. To learn more about custom domains and the full range of actions available, consult our Custom Domains API Documentation.
Step 4: Configure the CNAME record for your custom domain
Now that your custom domain is set up within the SaaS Custom Domains system, it's essential to ensure proper routing of requests. This requires creating a CNAME record for app.mydomain.com, pointing it to in.saascustomdomains.com. In practice, you would instruct your customer to create this CNAME record on their domain.
Keep in mind that after creating the CNAME record, DNS propagation might take a few minutes. Once propagated, visiting the custom domain app.mydomain.com will result in your request being forwarded to your upstream host, app.example.com, where your Django application resides.
A crucial note for customers using DNS providers like CloudFlare, which can also function as a proxy: they must set the proxy status to DNS only (by turning the cloud icon gray).

Bravo! Your custom domain now successfully forwards requests to your Django application.
Depending on your implementation and specific use case, this might be all you need. However, if you want to execute additional business logic based on the custom domain, read on.
Step 5 (Optional): Handling forwarded requests in your Django application
In some cases, you might want to customize your application's behaviour based on the custom domain originating the request. This can include displaying a unique logo or retrieving specific data from your database.
Every request coming from a custom domain will have the X-Served-For header set to that custom domain. For example, if a request comes from app.myapp.com, the X-Served-For will be set to app.myapp.com.
Here's how to handle this in a Django view:
from django.http import HttpResponse

def my_view(request):
    custom_domain = request.META.get('HTTP_X_SERVED_FOR')

    if custom_domain == 'app.myapp.com':
        # Logic for app.myapp.com
        return HttpResponse("Welcome to app.myapp.com")
    elif custom_domain == 'app.other-customer.com':
        # Logic for app.other-customer.com
        return HttpResponse("Welcome to app.other-customer.com")
    else:
        # Default logic for all other users
        return HttpResponse("Welcome to the default app")
That's it! You've successfully implemented custom domains in just five easy steps using the SaaS Custom Domains API. If you have any questions, don't hesitate to contact us via email or through the chat widget at saascustomdomains.com.
Why choose SaaS Custom Domain?
Implementing custom domains for your SaaS application provides several benefits. Not only does it offer a more professional and branded experience for your customers, but it also fosters trust and credibility. With SaaS Custom Domain, you can effortlessly automate and streamline the entire custom domain management process, making it more efficient and less time-consuming. Furthermore, our team of experts is always available to assist you with any questions or concerns.
Ready to elevate your SaaS app with custom domains? Sign up today at saascustomdomains.com and join other satisfied people using SaaS Custom Domains!